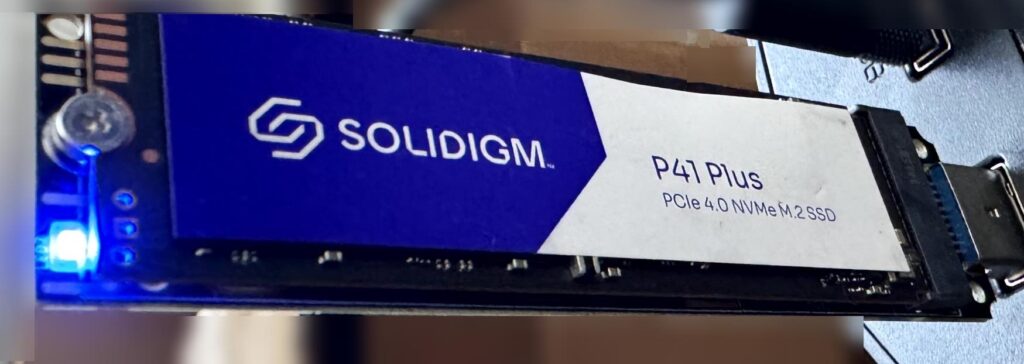
Running into problems is where you learn and grow! This evening I wanted to upgrade my M.2 NVMe but my motherboard only has one slot. So I decided to research a way to clone my M.2 NVMe to my new one. Before we begin, you do need to get a M.2 NVMe USB adapter. They are fairly cheap to order. Here is the link for the on I bought: https://amzn.to/3TqY6dl
What is an M.2 NVMe?
NVMe stands for Non-Volatile Memory Express. These drives attach to the PCIe or Peripheral Component Interconnect Express slot on the motherboard instead of using SATA. The M.2 is just a form factor of the SSD.
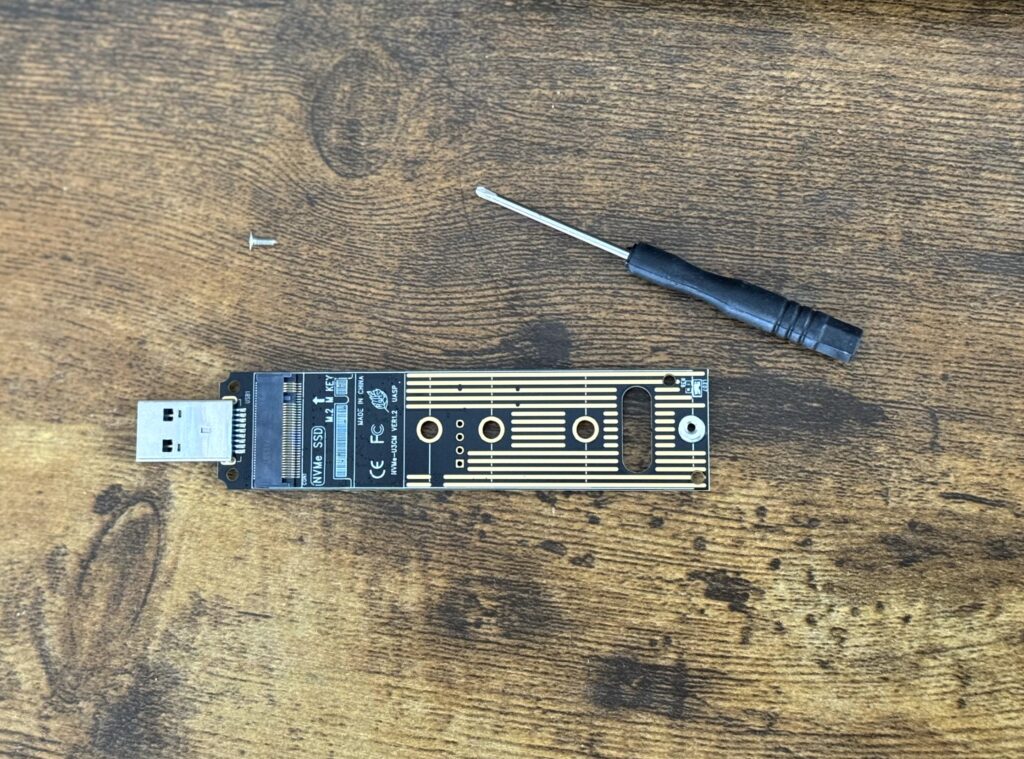
Installing M.2 NVMe to it’s USB adapter
Step 1. Grab your the M.2 NVMe you want to clone and insert it on the PCIe slot on the USB adapter.
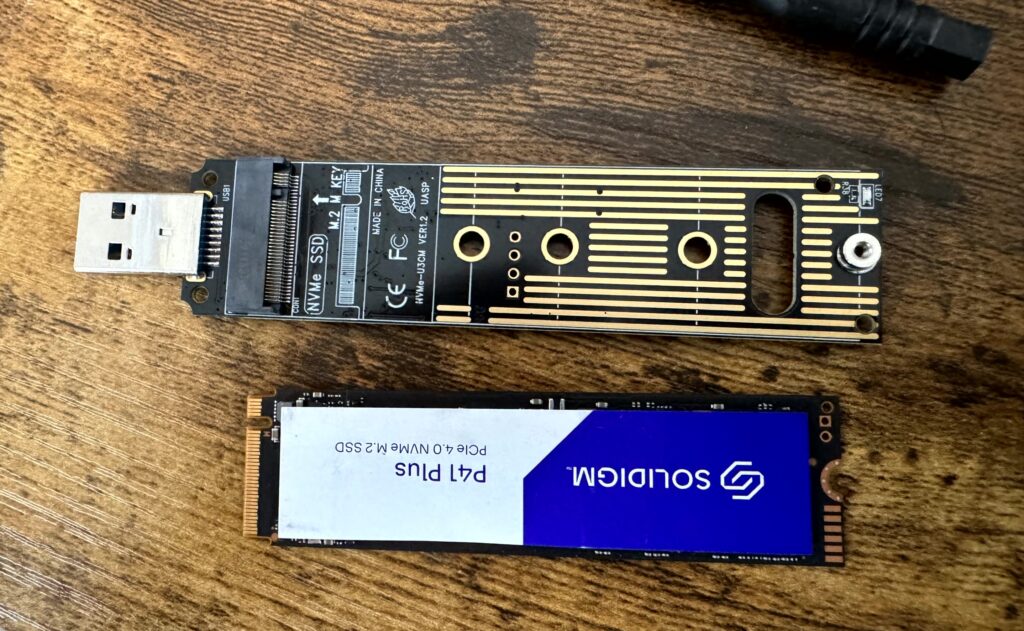
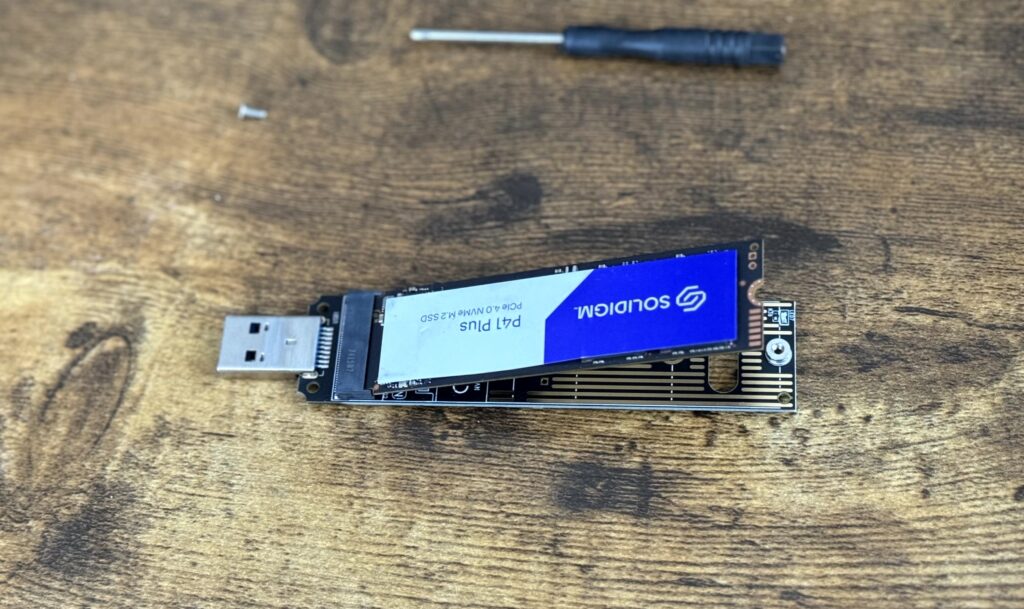
Step 2. Screw the M.2 screw on the M.2 NVMe adapter.
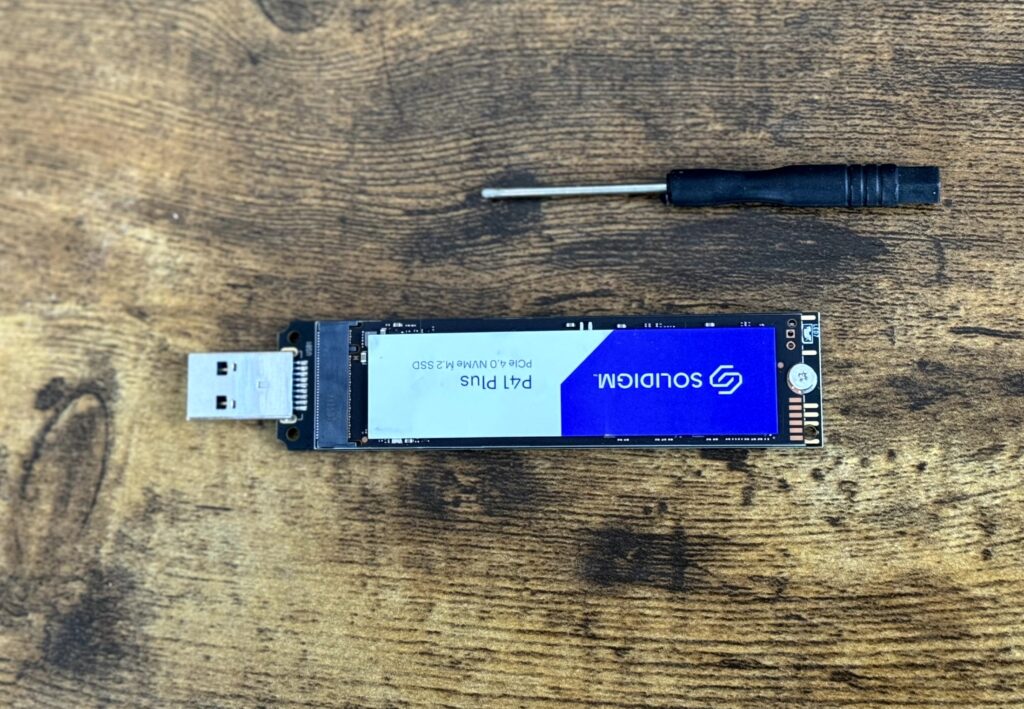
Step 3. Take your M.2 NVMe adapter and plug it into a USB port on your computer.
Downloading Cloning Software
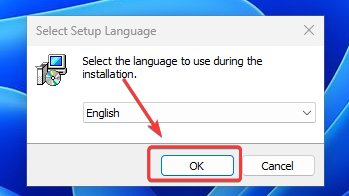
Step 1. Search for “diskgenius download” and click on their website. Then select Free Download.


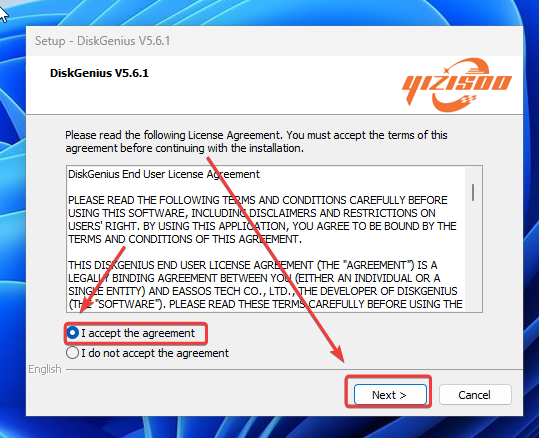
Step 2. Start the Installer by double clicking on it. The installer should appear on your Downloads folder.

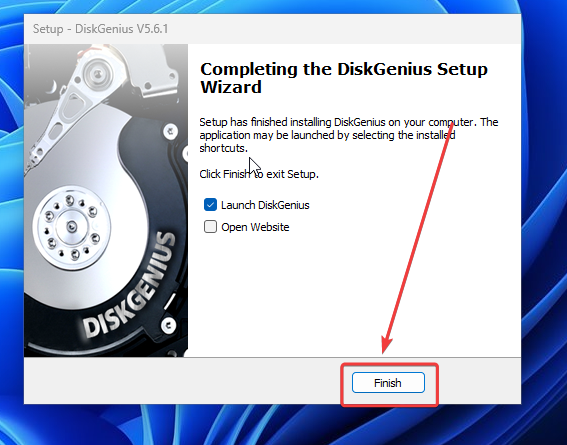
Step 3. Go through the Installer prompts. Once completed click on Finish.

Cloning original M.2 NVMe to New M.2 NVMe
Step 1. Select the OSMigration icon which is located on toward the top middle section of the window.

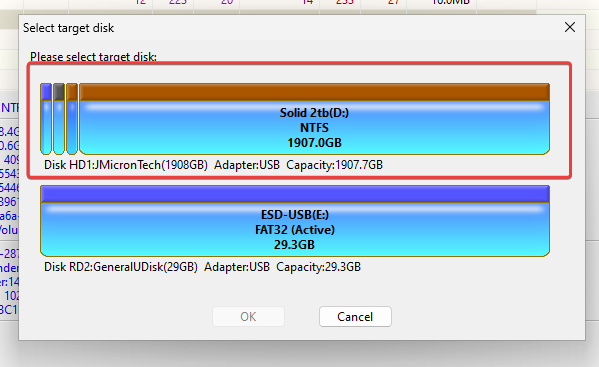
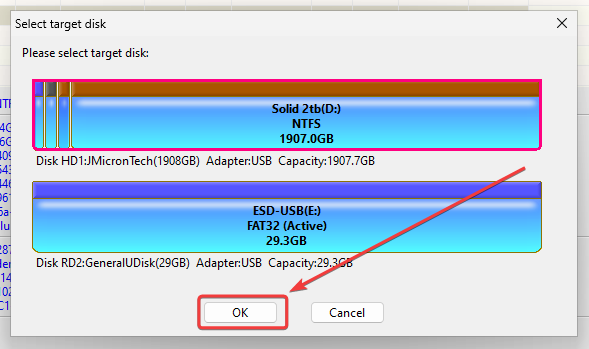
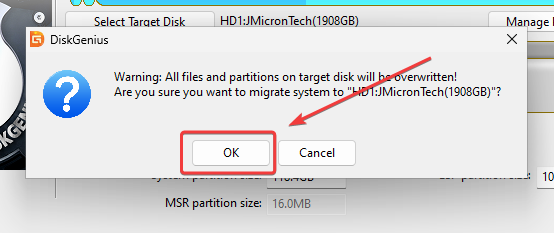
Step 2. Select your target disk. Which means the disk you want to clone. Once selected click on OK. In this case I want to clone my 2TB M.2 NVMe.
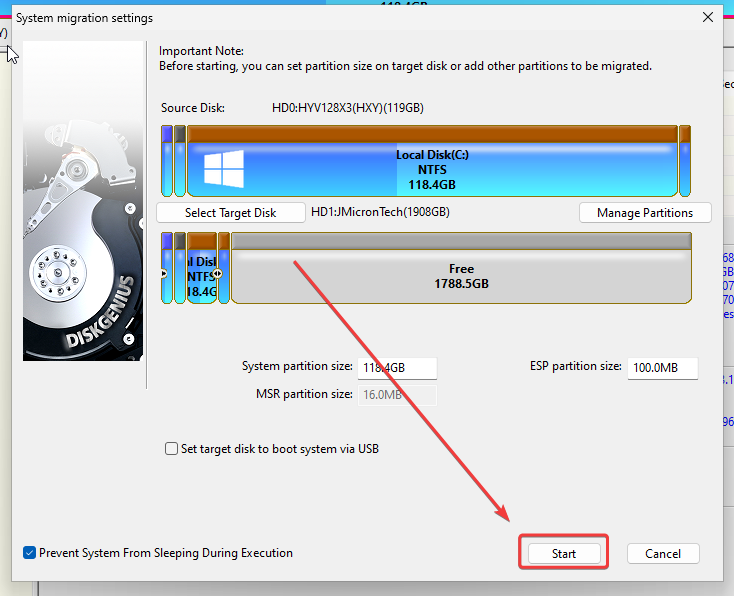
Step 3. Double check that your Source Disk is the disk you want to clone from. Also check if the Target Disk is the disk you want to erase and clone. Once verified, click on Start.
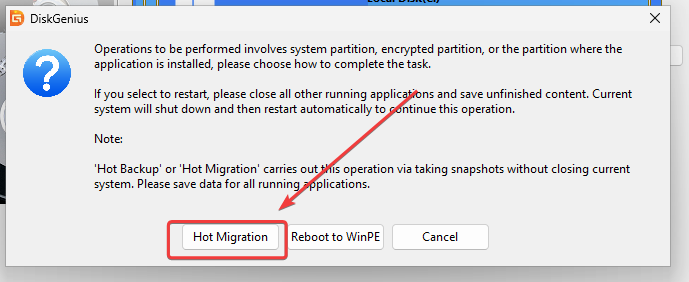
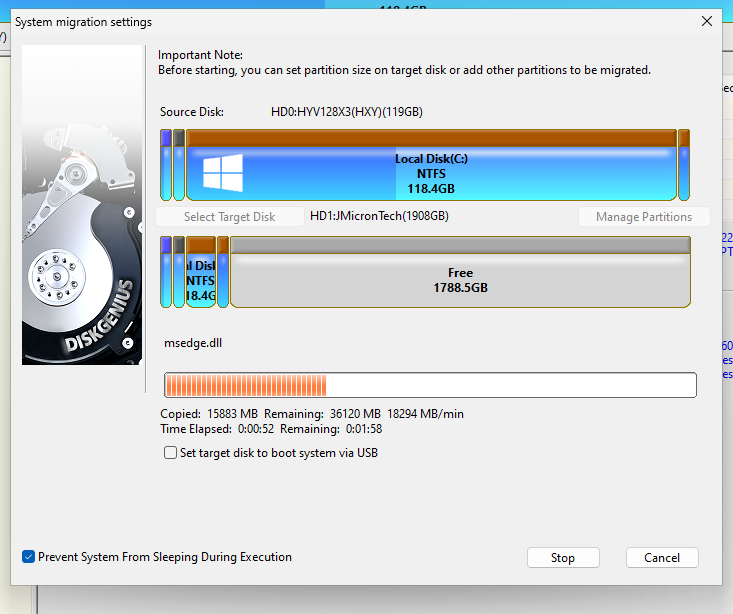
Step 4. Next select Host Migration. Then click OK. After this the cloning will begin. It will notify you once it is complete.
Extending Partition to add Unallocated Space
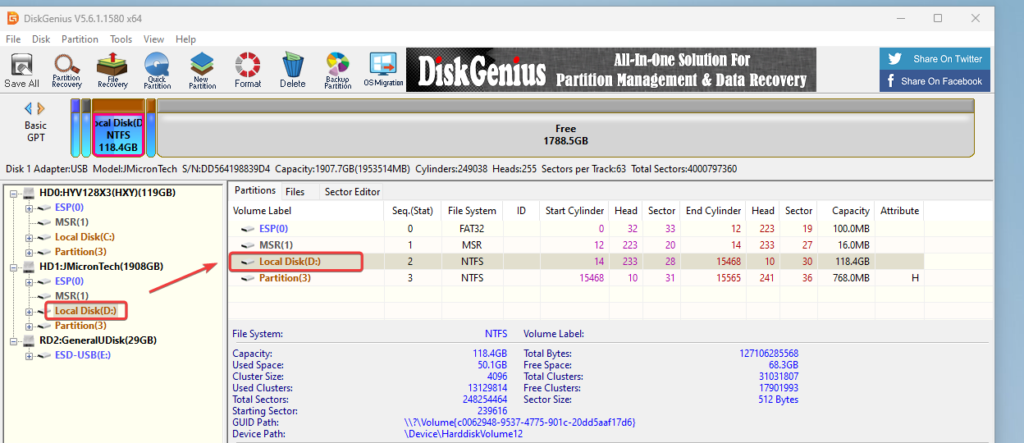
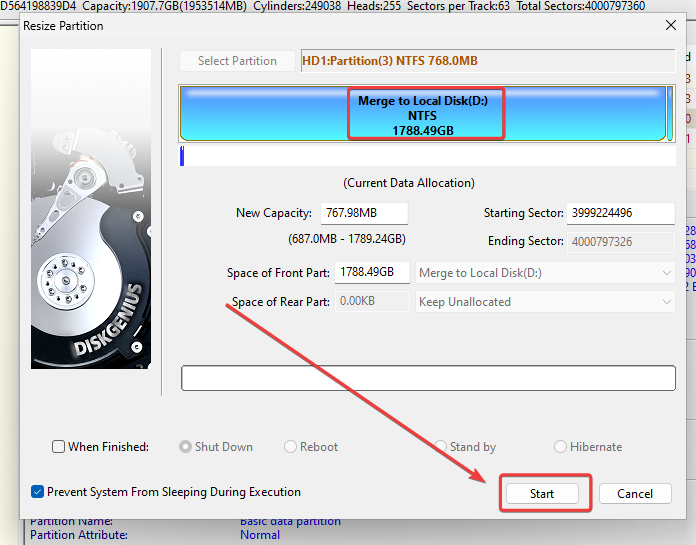
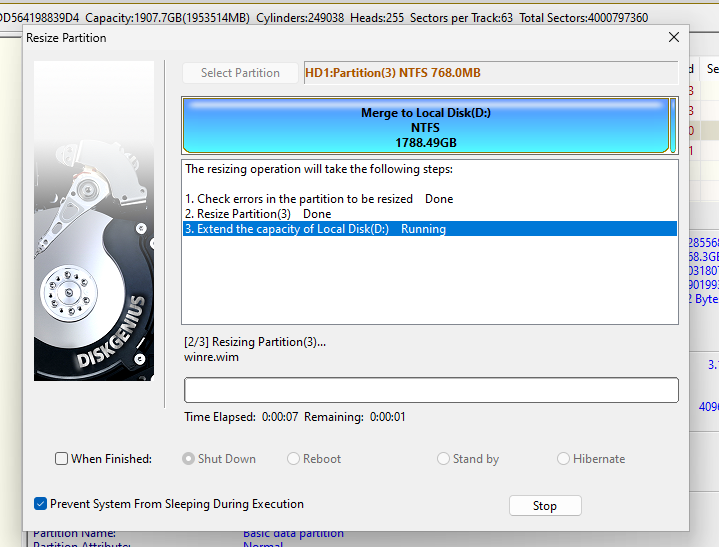
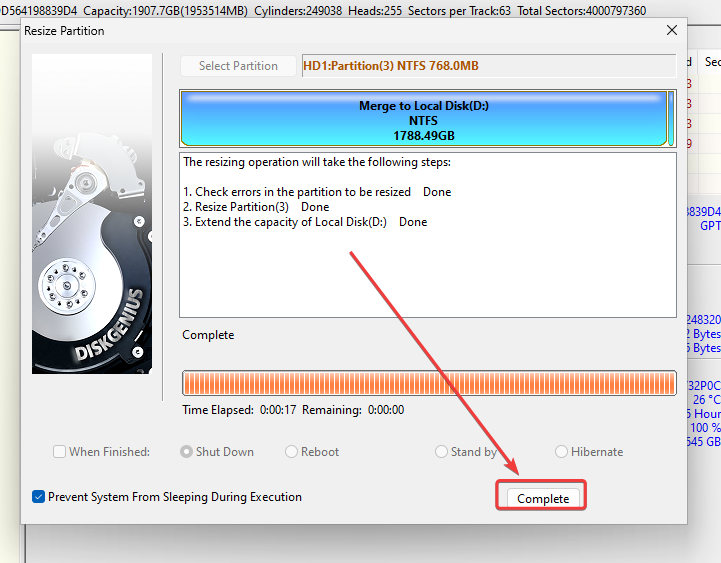
Step 1. Depending on the size, your disk will most likely have Unallocated space. To add that space to your Partition, select Local Disk.
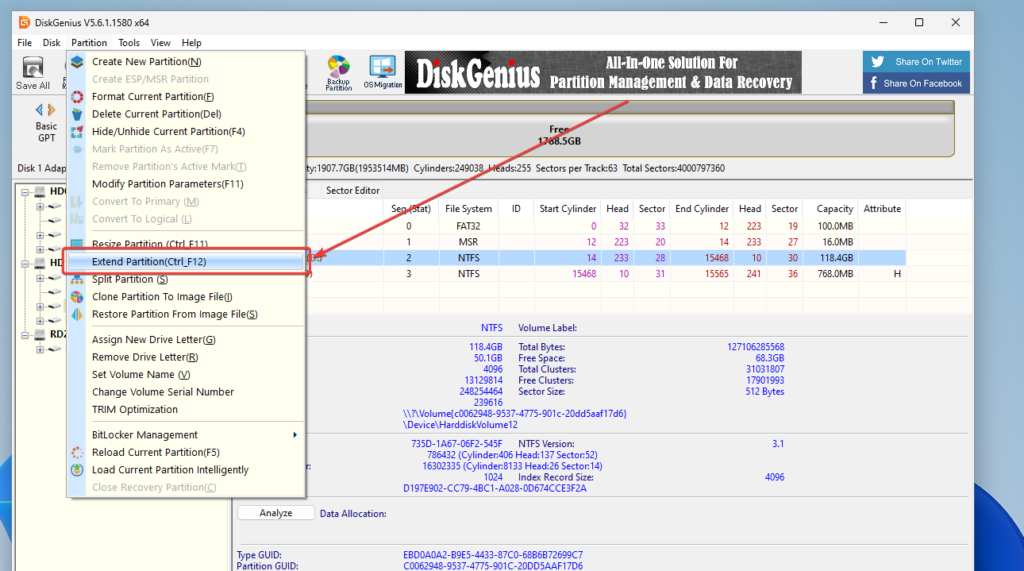
Step 2. Next click on the Partition tab and select Extend Partition.
Step 3. Select the Unallocated space. Then click on OK.

Step 4. Click on Start. Once completed, click on Complete.
Installing the M.2 NVMe to your PC
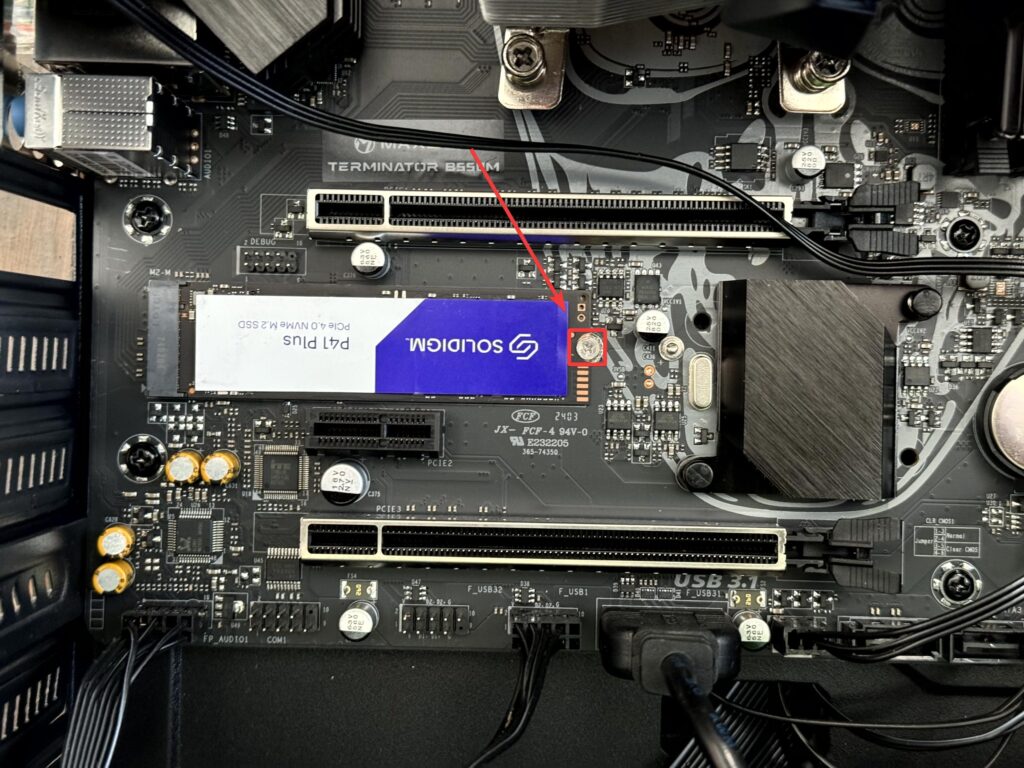
Step 1. Open your PC case and unscrew the M.2 NVMe. Then take the M.2 NVMe out of the slot.
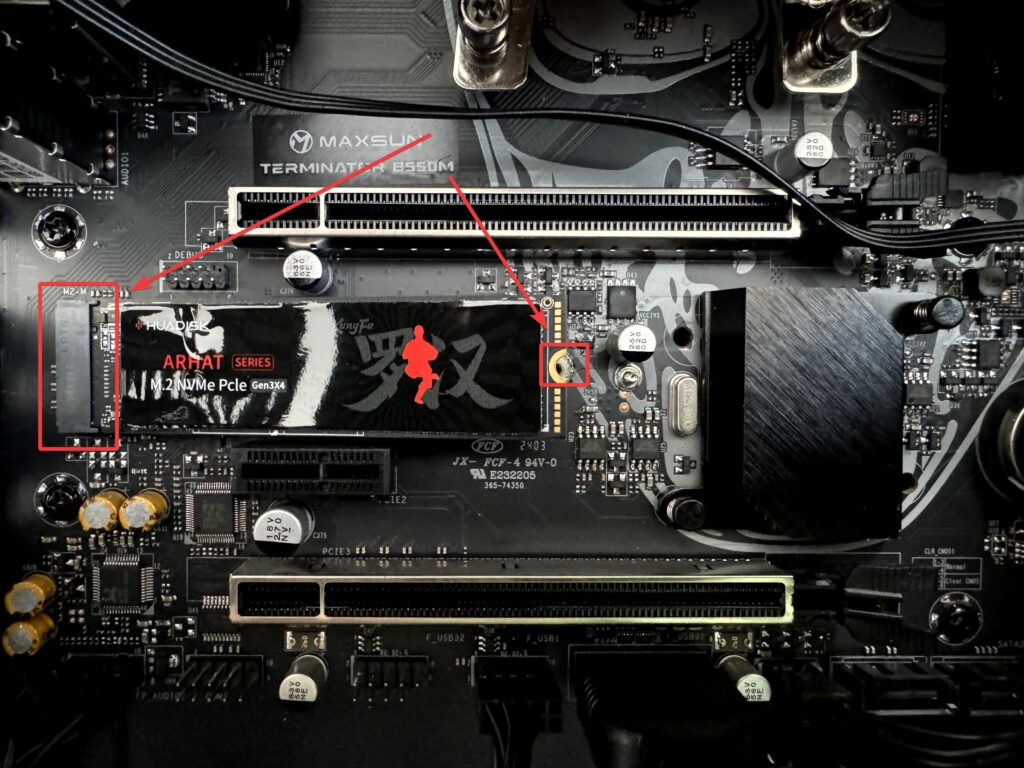
Step 2. Install the new M.2 NVMe that you just cloned. Then screw the M.2 NVMe to the Motherboard with a M.2 screw.

Verifying if it worked!
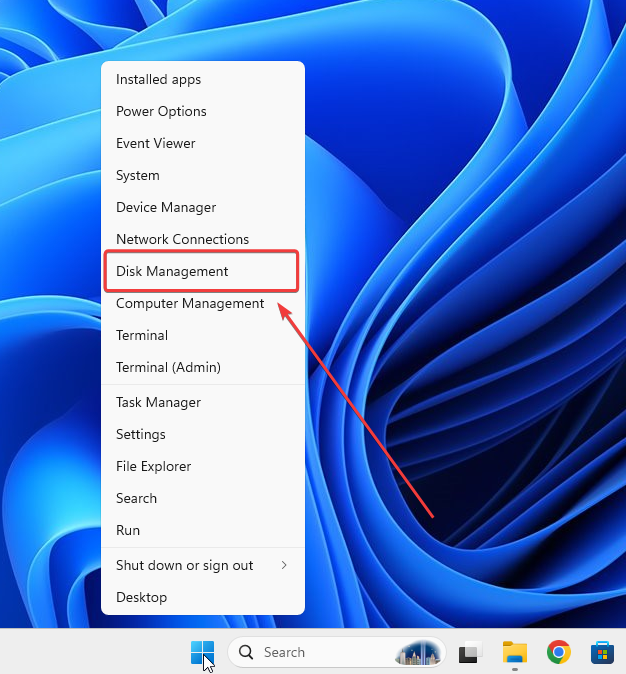
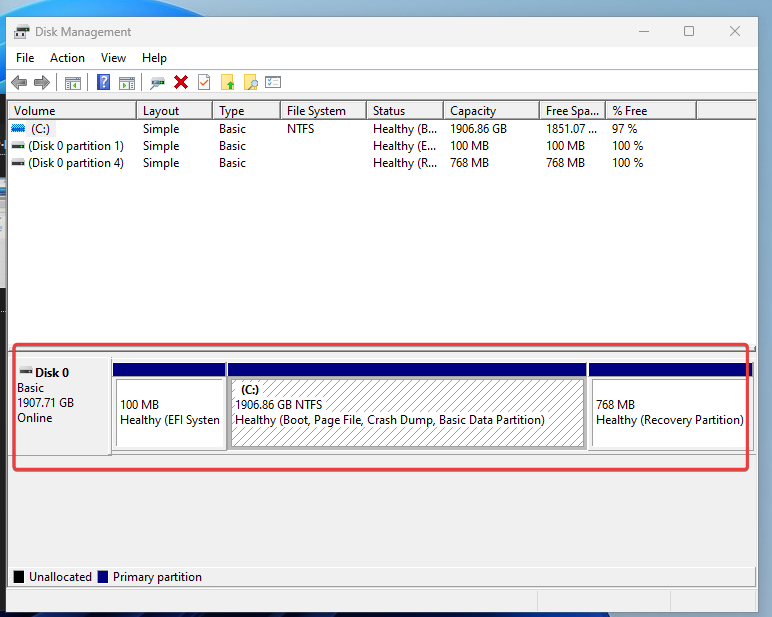
If you are able to boot up your PC then most likely the cloning was successful! You should not see any differences when logging into your computer. The only difference you wqould see is that now your PC has more space! Just to make sure everything was installed correctly, you should be able to see your new disk without any unallocated space when you go to Disk Management. Hope this article helped you out!
References
Explanation of M.2 NVMe PCIe – https://www.backblaze.com/blog/nvme-vs-m-2-drives
DiskGenius – https://www.diskgenius.com/manual/